Website Development Process Explained Step by Step
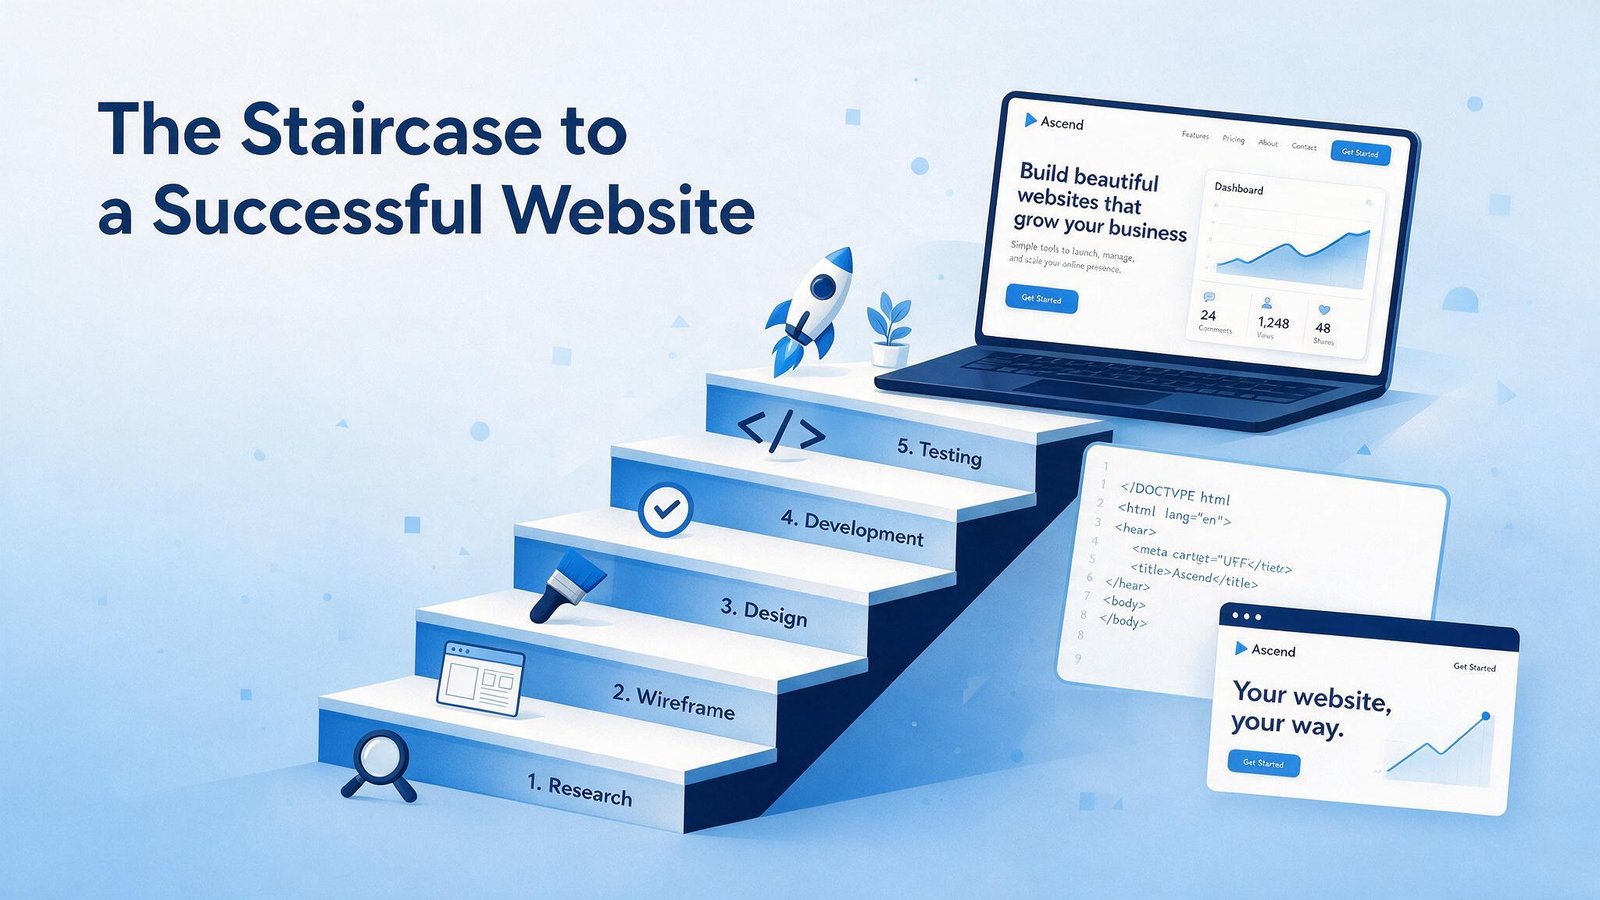
For someone outside of this industry, creating a website can seem like a mysterious process (black box): You state your needs and after a few weeks a ready website is found. Basically, whether it's a five-page business site or an entire online store, the process of creating it is pretty much the same. Understanding these steps not only calms your curiosity, but it also helps you set the right time frame, ask the right questions, and identify where delays or misunderstandings usually occur.
Step 1: Gathering information and understanding needs Every website project starts with understanding the business behind it. At this stage, the purpose of the website is decided, who it is for, what visitors should do, and what pages or features are actually needed. Having clear information at this stage does not confuse the scope of the work later, and doing it in haste often increases the budget or timeline of the projects.
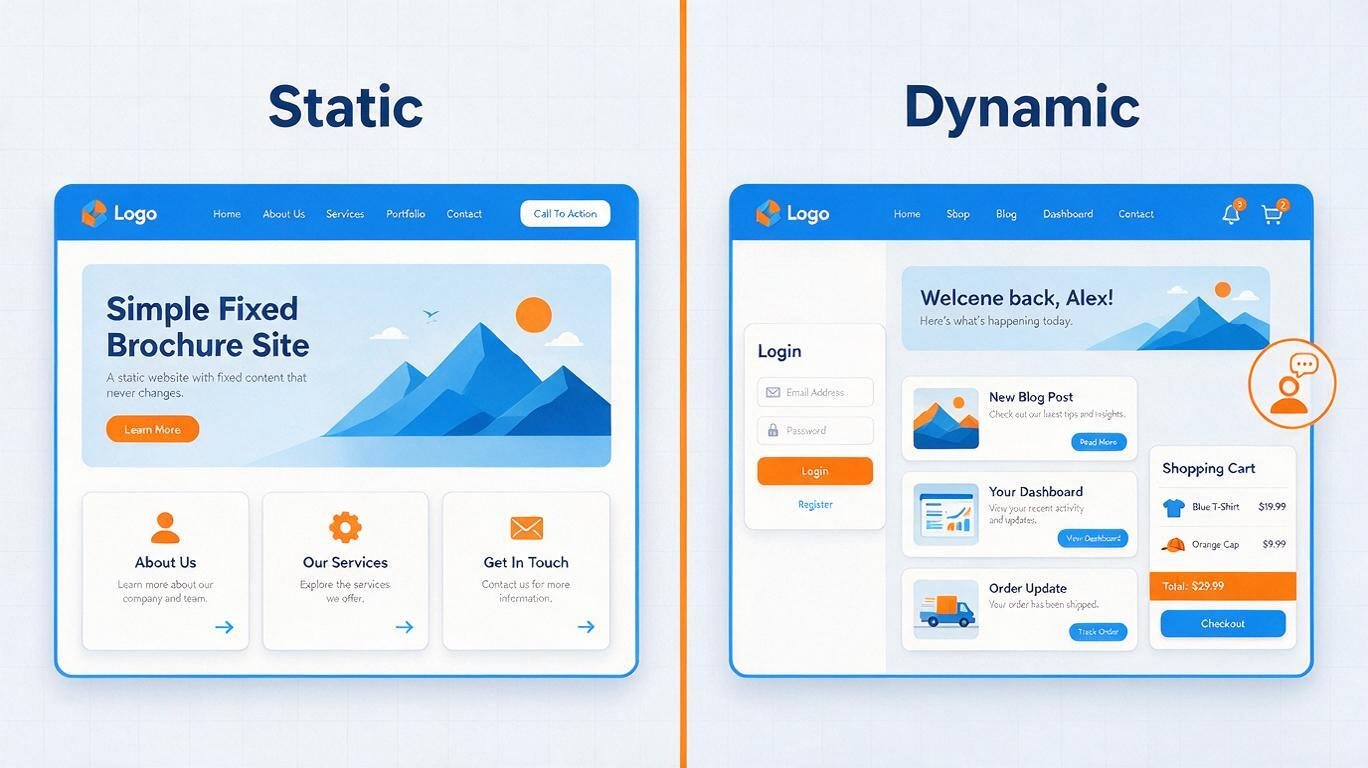
Step 2: After the planning and sitemap creation requirements are clear, the structure of the site is prepared: What pages will be there, how they will be interconnected and what will be the navigation. It is usually shown in a sitemap, which is a simple diagram and shows the structure (hierarchy) of the website. Technical decisions are also made at this stage in planning, such as whether the site will be static or dynamic, and on what platform or technology stack it will be built.
Step 3: Before any visual design begins, wireframes (simple black-and-white layout sketches) are often created to decide where the content, images, and buttons will be on every page. After the structure is approved, the actual visual design begins: Color, typography, image, and branding are used to transform the wireframe into a great and brand-friendly layout. This is where feedback and changes are usually made before the code is written.
Step 4: Content Preparation Text, images and other media should be ready before or during development, because if the website is designed based on dummy content (placeholders), then it often has to be reworked after the original content is inserted. This step involves writing the text (copy) for the page, collecting images of the product or service and arranging everything in such a way that it matches the approved design framework.
Step 5: This is where the design actually turns into a working website. Front-end development converts the approved design into working HTML, CSS, and JavaScript, which appear in the browser. If the site is dynamic, back-end development happens side-by-side, with server logic, databases, and admin panels created that control the way the site works. Integrations such as payment gateways, contact forms or third-party tools are also added at this stage.
Step 6: Before the testing and quality assurance launch, the website is tested on different browsers, screen sizes and devices to detect layout issues, broken links or function not working properly. At this stage, the load speed, form submission and any e-commerce or payment process are also checked to ensure that there is no glitch when the real user uses the site.
Step 7: After the deployment and launch testing is complete, the website is moved from the development or staging environment to the live server, making it available to everyone via the domain name. This step includes SSL certificate setup, DNS configuration, and making sure that the analytics and tracking tools are properly connected before the site officially goes live.
Step 8: After the launch, the maintenance and support of the website does not end with the launch. Constant maintenance, security updates, performance monitoring, and content changes keep the site smooth and secure over time. Many businesses underestimate this stage, but if the website is not maintained, it becomes slower, less secure and outdated much faster than expected.
Why it is important to understand this process
Knowing these steps helps you have the right expectations when working with a developer or agency. This explains why a website can't go from brief to live launch in two days, and it helps to understand how much time your own delays, such as delays in delivering content or delays in feedback, can add to the project. This also makes it easier to evaluate quotations, because a provider that skips steps like testing or planning may be adopting shortcuts at work, which can lead to problems after launch.The tools that are commonly used at each stage and different tools are commonly used for different stages of the technology process. In discovery and planning, simple document, spreadsheet or sitemap tools are often used to understand needs and structures. Wireframing and design are usually done in tools like Figma or Adobe XD, allowing designers and clients to see the layout even before the code is written. Development uses front-end technologies such as HTML, CSS, and JavaScript frameworks, as well as back-end languages and databases for dynamic sites. Testing often uses a combination of manual checks on devices and automated tools that detect broken links, slow-loading pages, or accessibility issues before launch. Knowing what tools are involved can help you understand why this happens.
Need help with a project like this?
Tell us your requirement — we reply with a scope, timeline and quote within 24 hours.
Get a Free Quote →